
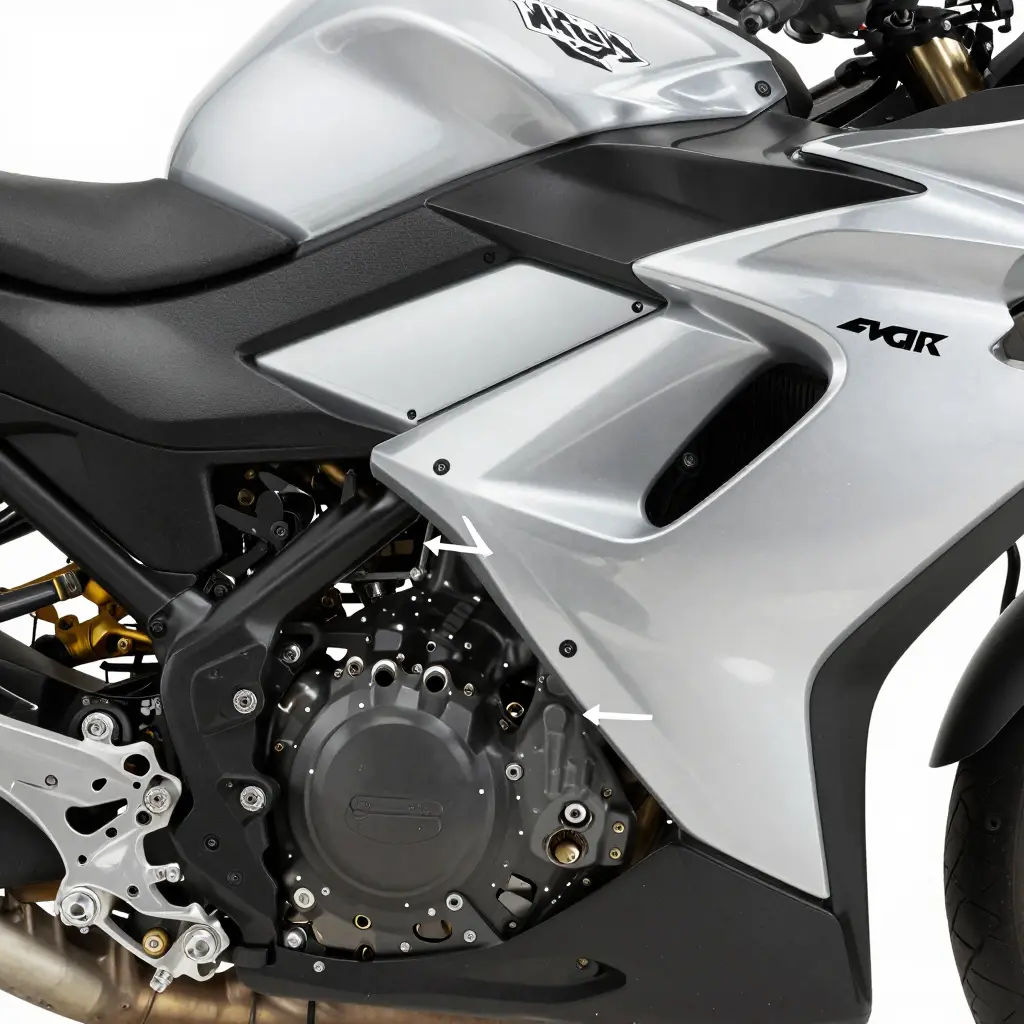
What Are Cracked Fairing Tabs at the Mounting Points?
Cracked fairing tabs are fractures in the small molded projections that hold a motorcycle’s bodywork panels in place. They sit at the fairing mounting points: the attachment locations where side fairings, nose cowls, and tail sections fasten to the frame, subframe, or neighboring panels with bolts, clips, and rubber grommets. Each tab is thin and load-bearing, so it takes the vibration, road shock, and stress of every removal and reinstallation.
Most tabs hide behind the visible surface of a panel, so damage often goes unnoticed until a fastener comes loose. Tighten a bolt into an already cracked tab and the stress collects at the fracture, which can split the projection completely.
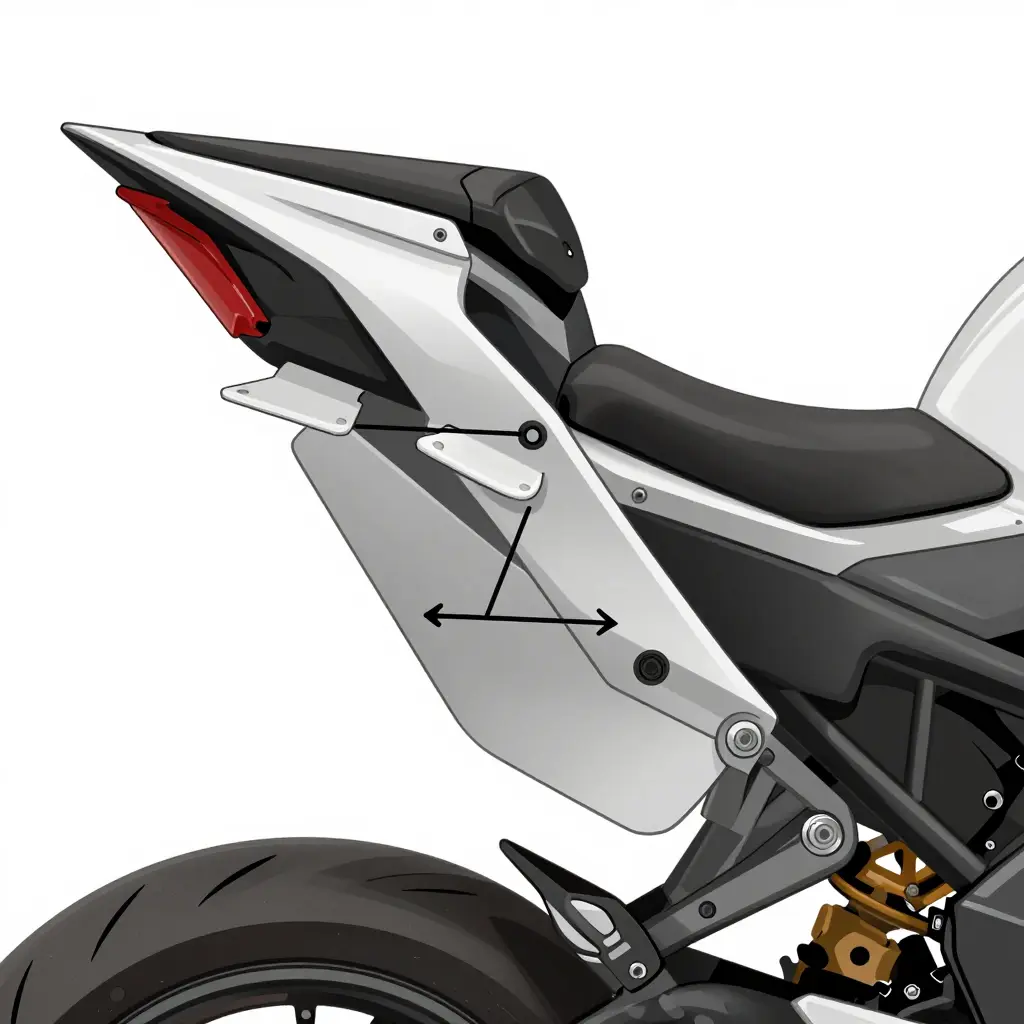
Checking fairing fitment before installation stops that progression. A panel that lines up with its mounting points without force is not loading its tabs. A dry fit exposes gaps, misalignment, and hairline cracks while the parts are still on the bench, so you fix them before paint and final assembly rather than after. It also protects the surrounding bodywork, because a poorly seated panel transfers stress into the other attachment points. For a broader look at how unverified changes spread through a vehicle, see how unverified modifications can compromise vehicle safety.
What Causes Fairing Tabs to Crack at the Mounting Points
Fairing tabs crack because the mounting points are where the forces on your bodywork converge. The bolt pulls one way, the frame flexes another, and wind and vibration keep working the plastic. Five causes account for most of it.
Overtightened Bolts
A bolt tightened past the plastic’s limit is the most common cause. Over-torquing compresses the tab and the panel around it; the plastic cannot spring back, so it creases and then splits. The damage shows up fast, often within a few hundred miles of a careless install.
Vibration Fatigue
Vibration fatigue is slower but just as destructive. Every mile of engine buzz and rough pavement flexes the tab millions of times, and each cycle widens a microscopic crack. After thousands of miles the tab can break off with no single impact to blame, which is one reason riders need fairing tab repair.
Misaligned Aftermarket Brackets
Aftermarket brackets that do not match the factory geometry twist the panel. One bolt lines up, another sits slightly off, and the tab becomes the pivot that absorbs the difference. Proper motorcycle fairing fitment means every hole aligns before you tighten anything. Skip that check during aftermarket fairing installation and the tab carries a permanent load it was never designed for.
Thermal Expansion
Plastic expands in heat and contracts in cold. Bolt a tab down with zero clearance and that movement has nowhere to go. The panel pushes against the bolt, and the tab cracks as the material cycles between summer heat and winter cold.
Impact Stress
Drops, tip-overs, and road debris deliver sudden loads. A sharp hit concentrates its energy at the nearest mounting point, splitting the tab outright or starting a crack that spreads later.
All five failures end at the same place: a small plastic tab carrying more force than it can handle. Fix the cause and the crack stops coming back.
Fairing mounting points rarely fail for the same reason twice. Each location has its own stress signature, and knowing the likely culprit before you bolt anything back on can save a second round of repairs. The table below maps six common failure zones to their typical cause and the risk of ignoring them.
Mounting Point Cause Comparison
| Mounting Point Location | Most Common Crack Cause | Risk Level if Ignored |
|---|---|---|
| Upper Cowl | Over-torqued bolts crushing the plastic | High – spider cracks spread quickly |
| Side Fairing | Vibration fatigue at thin stress points | Medium – noise and rattle worsen |
| Nose | Impact flex from wheelies or drops | High – panel can detach at speed |
| Tail Section | Rear-set torque and uneven clamping | Medium – hairline cracks widen over time |
| Lower Belly Pan | Friction and debris strikes against the frame | Medium – chips turn into full splits |
| Mid-Panel Tabs | Mismatched fitment pulling the tab under load | High – multiple tabs fail together |
The highest-risk points are the ones where fasteners and fitment fight the plastic instead of supporting it. Tabs crack when they are asked to absorb force the frame or a well-seated panel should carry. So dry-fit the fairing, check that every tab seats without pressure, and confirm your torque values against the service manual before you tighten anything. That check belongs in the same routine as any other safety inspection; the discipline that keeps other vehicle systems reliable applies here too. Neglected hardware choices cascade in exactly this way, which is why small oversights in vehicle modification safety tend to surface at the worst possible moment.
Use the table as a quick diagnostic: match the crack to its location, fix the cause rather than the crack, and re-check fitment before the panel goes back on the bike.
How to Check Fairing Fitment Before You Install
Checking fitment before you install a new fairing is cheap insurance. Cracked mounting tabs rarely appear the day you bolt a panel on; they show up weeks later, after vibration and tension have done their work. Assemble the fairing dry first, and review any modification for safety while you are at it. Work through these steps in order and you will catch misalignment before it becomes a repair.
-
Inspect the existing tabs. Check every mounting tab on the subframe and the fairing for hairline cracks, stress whitening, or old repairs. Hidden damage spreads once the panel sits under tension.
-
Clean the contact surfaces. Wipe each mating point with isopropyl alcohol to remove grease, road grime, and leftover adhesive. Trapped debris keeps panels from seating flush against the frame.
-
Dry-fit the panels. Set the fairing loosely on the bike with no fasteners at all and let the parts settle into their natural position. Do not force them together by hand.
-
Align the bolt holes. Slide each fastener through by hand and confirm it drops in freely. A hole that needs a pry bar means the panel is sitting crooked.
-
Check the panel gaps. Run your fingers along every seam and feel for uneven or pinched spots. Consistent gaps tell you the alignment is true.
-
Verify the bracket alignment. Compare the mounting brackets against the frame reference points and confirm they sit parallel. A bent bracket pulls the fairing sideways and cracks a tab at the bolt.
-
Test-seat the fairing without hardware. Press the panel fully into place by hand and watch how it holds. Spring-back or popping means interference you have to resolve before tightening anything down.
-
Check the tab flex. Flex each tab gently through its small range of motion and let it release. Tabs that feel brittle or refuse to return are the ones that crack.
-
Confirm the torque points. Note every torque specification before you reach for a wrench. Over-tightened fasteners crush tabs and recreate the stress fractures a careful installation is meant to avoid.
For context on why thoughtful modifications matter, see aftermarket vehicle modifications can compromise safety for a broader look at best practice.
Fairing Mounting Points at a Glance
It helps to see the whole picture before you tighten anything. The diagram below shows the typical fairing panel geometry: the perimeter mounting holes along the top, bottom, and rear edges, plus the protruding tabs that lock the panel into position. The round points are where fasteners pass through, and the tabs are the fragile fingers that crack when a panel is forced into a misaligned frame.
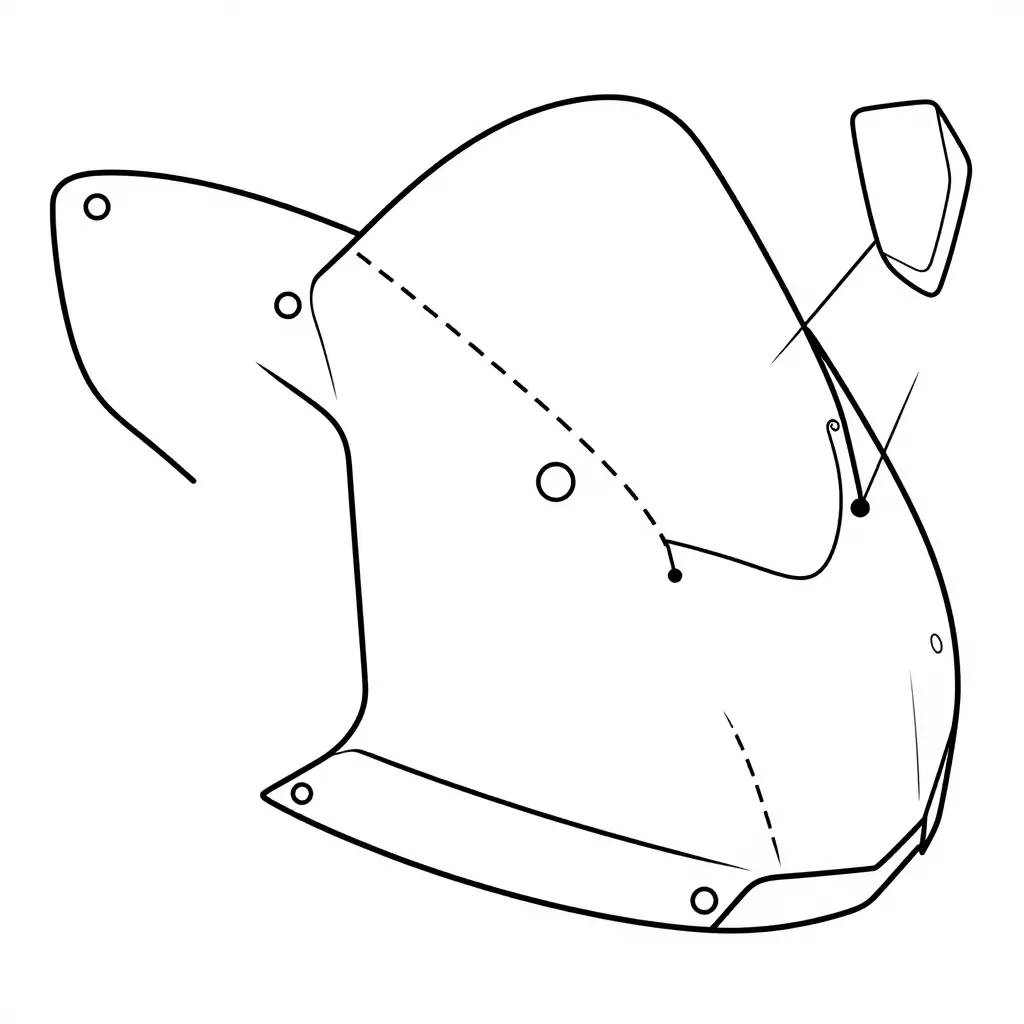
The tabs sit close to the hard mounting points, and that proximity is what makes a poor fit so destructive. When the holes do not line up and you tighten the bolt anyway, the panel has nowhere to flex except through the tabs. Check alignment point by point with this layout and seat every tab by hand before you commit any hardware. If a modification or repair changes the geometry of these contact areas, review the wider safety implications of how vehicle structure and fitment interact.
Dry-Fit Techniques Without Fastening Hardware
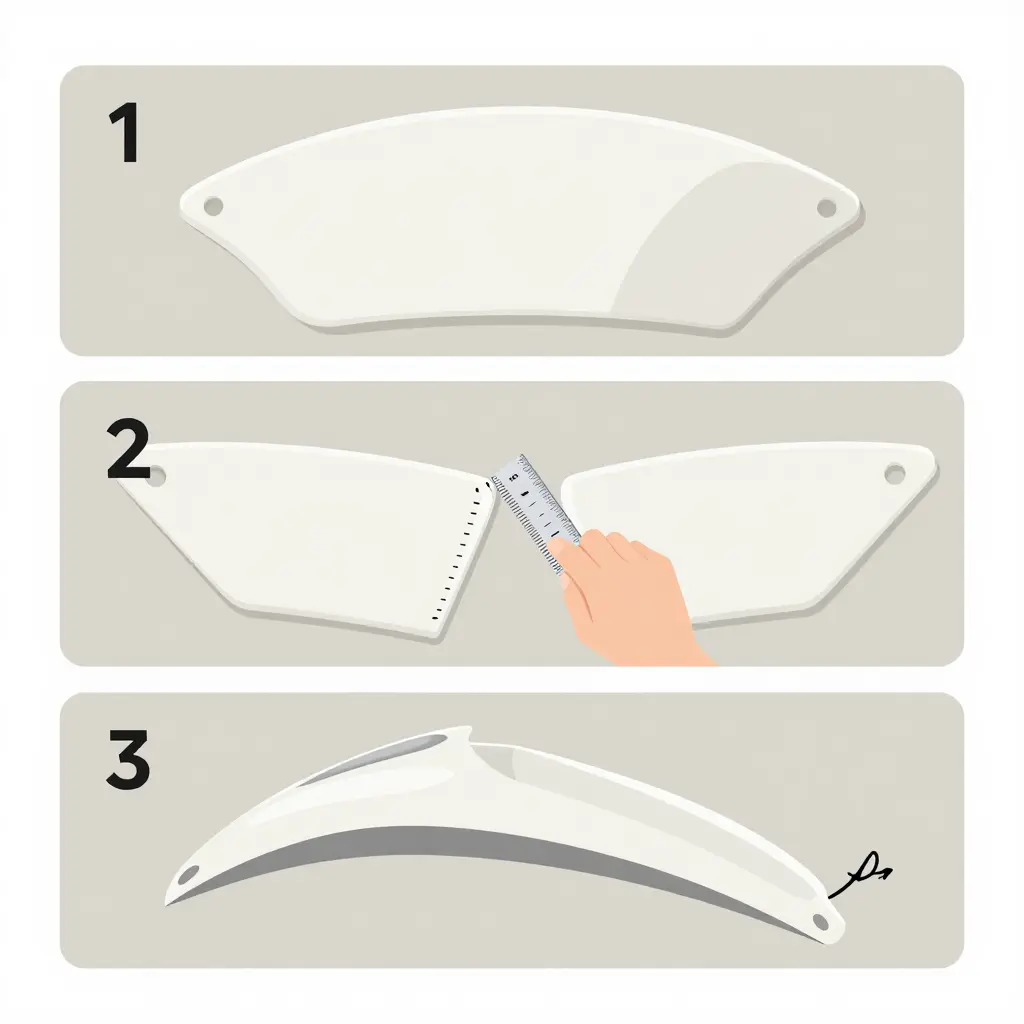
Set the fairing in place dry before a single bolt goes in. Seat the panel onto its locating tabs and press it flush by hand, letting the plastic settle under its own weight instead of forcing it. If a panel needs a shove to sit flat against the frame, the alignment is already off and one mounting point is carrying load.
Checking Gap Consistency Across Seams
Run a fingertip along every seam where two panels meet. The gap should hold an even width from top to bottom. A gap that pinches at one end and flares at the other means a twisted panel or a bent bracket. Compare the left and right sides of the bike the same way; a panel that looks fine on one side often sits high on the other.
Detecting Tab Stress Before Tightening
Watch each tab where it meets the fairing mounting points. A stressed tab shows a faint white line across the bend or lifts a millimeter off the surface. Press gently and study the flex. If the tab bends while the bolt hole stays misaligned, the panel is fighting the frame, and tightening will only crack it.
Repeat the dry fit on every motorcycle fairing fitment job, whether you are reinstalling original bodywork or aftermarket pieces. Proper alignment protects the plastic, keeps seams tight, and prevents the cracked tabs that send riders back to the bench. It also keeps the bodywork from loosening on the road, which is central to safe vehicle modifications.
Crack Frequency by Mounting Point
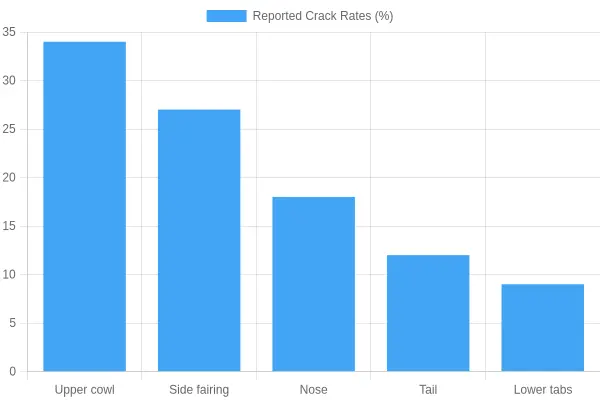
| Mounting Point | Reported Crack Rate (%) |
|---|---|
| Upper cowl | 34 |
| Side fairing | 27 |
| Nose | 18 |
| Tail | 12 |
| Lower tabs | 9 |
The upper cowl and side fairing together account for 61% of all reported cracks; the nose, tail, and lower tabs share the remaining 39%. The failures cluster where load and vibration are highest: the upper mounts that hold the widest, thinnest panels in the path of road buzz and wind pressure. The upper cowl leads at 34% because its tabs sit farthest from the bike’s center of mass and flex hardest under high-speed buffeting. Side fairings follow at 27%, their long unsupported spans twisting every time the bike leans or hits a bump. The nose, tail, and lower tabs fail less often because they sit closer to the frame, are braced by neighboring panels, or are shielded from peak airflow. In plain terms, the higher and more exposed the mounting point, the more likely you are to find a hairline crack, so start pre-fitment checks at the top of the fairing and work down. For a deeper look at how aftermarket hardware and bodywork affect structural wear, see whether your truck modifications are compromising safety.
Verifying Gap Tolerance and Alignment
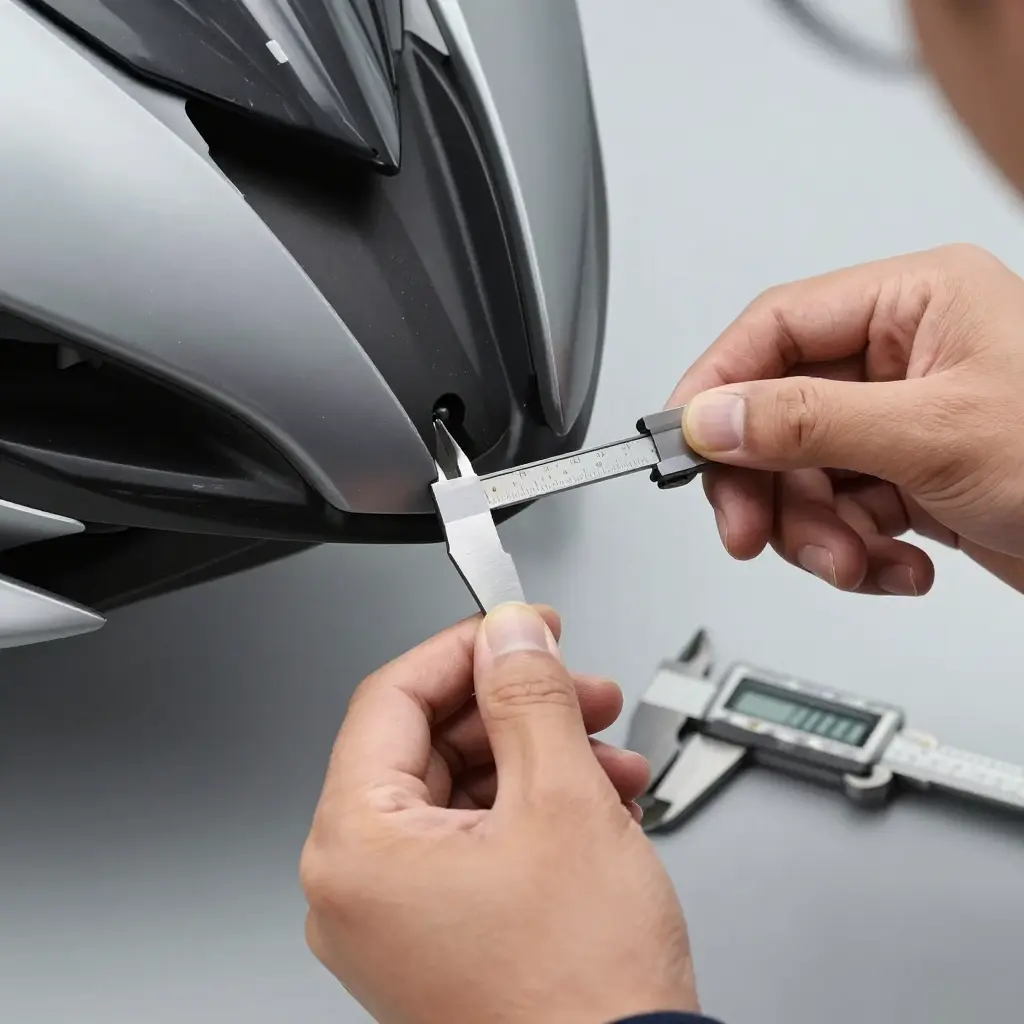
Verify the gaps before you torque anything. A fairing can sit perfectly straight on a workbench and still hide stress that only shows up once fasteners are tight. For anyone assessing motorcycle fairing fitment, gap measurement is the quickest way to catch trouble before it turns into cracked fairing tabs.
Acceptable Panel Gap Ranges
Panel gaps should stay even across the full seam, not just read correctly at one point. Use the ranges below as a starting guide, then confirm them against your model’s factory tolerances.
| Panel Junction | Typical Gap Range | Warning Threshold |
|---|---|---|
| Side fairing to upper | 3-5 mm | Greater than 6 mm |
| Nose to side panel | 4-6 mm | Greater than 7 mm |
| Tank to inner panel | 3-4 mm | Greater than 5 mm |
| Tail to seat cowl | 2-4 mm | Greater than 5 mm |
Consistency matters more than the raw number. A uniform 5 mm gap looks correct; a seam that swings from 3 mm to 7 mm does not.
Measuring With Feeler Gauges and Calipers
A feeler gauge is the fastest tool for narrow seams. Stack the blades to match the expected gap, then slide the pack into the seam at several points along its length. The blade that slips through with light drag tells you the actual gap.
For wider openings, or when you need an exact number rather than a pass-or-fail, use a digital caliper. Measure across the seam at the top, middle, and bottom of every junction, and write each reading down so you can compare sides.
Why Uneven Gaps Signal Hidden Tab Stress
An uneven gap is rarely a bodywork problem. It usually points to a deformed or splitting mounting tab flexing under load. When one side of a seam reads 3 mm and the other reads 8 mm, a tab is bending or has already begun to crack.
This mirrors the logic behind broader vehicle modification safety checks: unchecked stress shows up later as a failure. If the gaps stay uneven after you loosen the fasteners and reseat the panel, stop and inspect every tab before installing.

Frequently Asked Questions About Cracked Fairing Tabs
Can cracked fairing tabs be repaired?
Yes, in most cases. Proper fairing tab repair is worthwhile when the crack is clean and the surrounding plastic is still sound. Small cracks can be reinforced by plastic-welding the tab or bonding it with an ABS-compatible epoxy plus a thin backing plate. If a tab has snapped off, a donor tab cut from a scrap fairing and welded back in place usually holds up well.
How tight should fairing mounting bolts be?
Snug, not gorilla-tight. Most fairing bolts need only about 5 to 7 Nm (roughly 4 to 5 ft-lb), and many use small shoulder bolts you should tighten gently with a short wrench. Overtightening crushes the plastic spacer and loads the tab with stress, so check your service manual for the exact spec. Tighten in a criss-cross pattern and stop as soon as the panel seats without rattling.
Do aftermarket fairings need a fitment check?
Yes. Aftermarket panels rarely align perfectly out of the box, so dry-fit them with every bolt loose before you tighten anything down. Check hole alignment, tab angles, and panel gaps, then shim or trim where needed. Skipping this step is the fastest way to crack a brand-new tab.
How do I spot hidden tab cracks?
Look at the base of each tab, not just the obvious edges. Flex the panel gently and watch for a faint white stress line, hairline fracture, or flaking paint near the mounting boss. Backlighting the panel with a flashlight reveals cracks you would otherwise miss. Run a fingernail across the tab root and feel for a catch that signals a fracture.
How can I prevent cracked tabs from recurring?
Fix the root cause, not the crack. Correct the fitment, replace worn rubber grommets and well nuts, and avoid overtightening so the panel flexes as designed. Supporting long spans with a strap or bracket reduces vibration fatigue. Inspect the tabs after any drop or tip-over, since hidden damage often shows up later.
Repair or Replace: Making the Right Call
A cracked tab at a mounting point is never “just a small crack.” Ignore it and the consequences compound. A compromised tab lets the panel flex at speed, which widens the gap, stresses the neighboring mounts, and invites vibration that chews through paint, wiring, and eventually the subframe. A five-minute fix turns into a full replacement, or a fairing that leaves the bike mid-ride.
That is why fitment checks come before installation, every time. Test-mount the fairing, seat every tab by hand, and confirm the alignment matches your frame before you tighten a bolt. Weighing the financial implications of vehicle lifetimes puts the repair-versus-replace math in perspective: a small, timely fix protects the value of the whole machine.
Quick Call-Out: Parts and Answers, Fast
Need the right panel, right now? summitfairings.com stocks over 3,000 styles covering almost all motorcycle models – at 10-40% lower prices than other sites. Have a fitment question? Their team responds within six hours.
Whether you repair or replace, the call gets easier when the diagnosis is honest and the parts are on hand. Riders who care about whether their modifications compromise safety already know the routine: inspect, verify, then commit. Do the same, and neither your fairings nor your frame will carry stress they were not built for.