Preparing dirt bike plastics for graphics is a crucial step that many motorcycle owners and repair shops often overlook. A professional finish not only enhances the aesthetic appeal of the bike but also plays a significant role in the longevity of the graphics. Proper preparation ensures that the graphics adhere correctly, preventing premature peeling or fading caused by dirt, dust, or oil residues that cling to unprepped surfaces. This is especially important for those who want their bike to look its best, whether on the trails or at competitions. The process involves cleaning, sanding, and priming the plastics, allowing for smooth application and a flawless finish. Motorcycle technicians and enthusiasts alike can benefit from understanding these techniques, helping them achieve the desired look while maximizing the durability of their investments. For those interested in exploring graphic options, check out our range of dirt bike graphics to find the perfect design for your ride.
Essential Tools and Materials for Prepping Dirt Bike Plastics
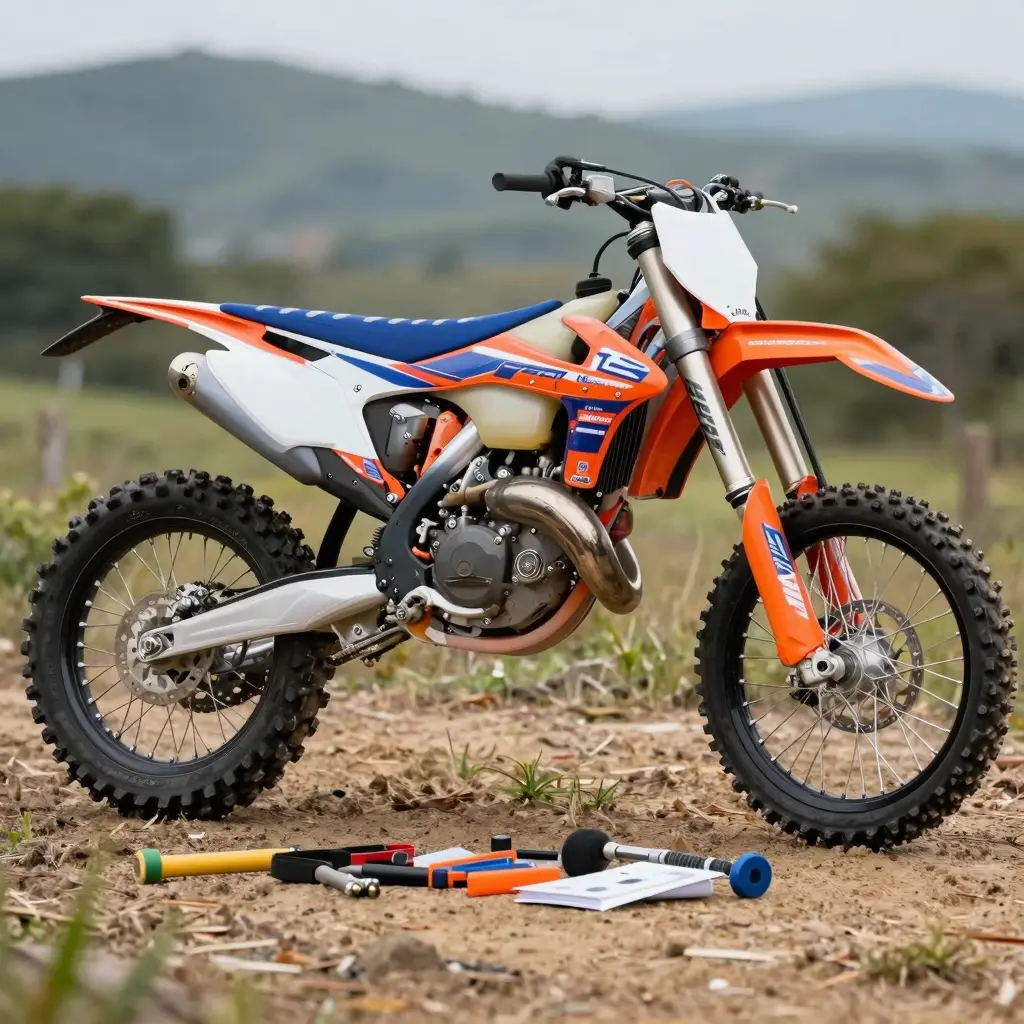
When prepping dirt bike plastics for graphic application, having the right tools and materials is crucial for achieving the best results. Here’s a list of essential items you’ll need:
- Plastic Cleaner: To remove dirt, grease, and any residues from the plastics.
- Adhesive Remover: Ideal for removing any old graphics and adhesive residues from previous applications. Learn more about effective adhesive removers here.
- Sandpaper: Use fine-grit sandpaper to create a smooth surface that allows the graphics to adhere properly.
- Primer: A good quality primer is essential for enhancing the adhesion of the graphics.
- Protective Gear: Includes gloves, masks, and safety glasses to protect yourself from dust and chemicals.
- Cleaning Rags: For wiping down surfaces after cleaning and prepping.
These tools will ensure that your prepping process is efficient and effective, leading to a durable and visually appealing finish on your dirt bike plastics! To see some great graphic options for your bike, check out our selection at Moto Graphics.

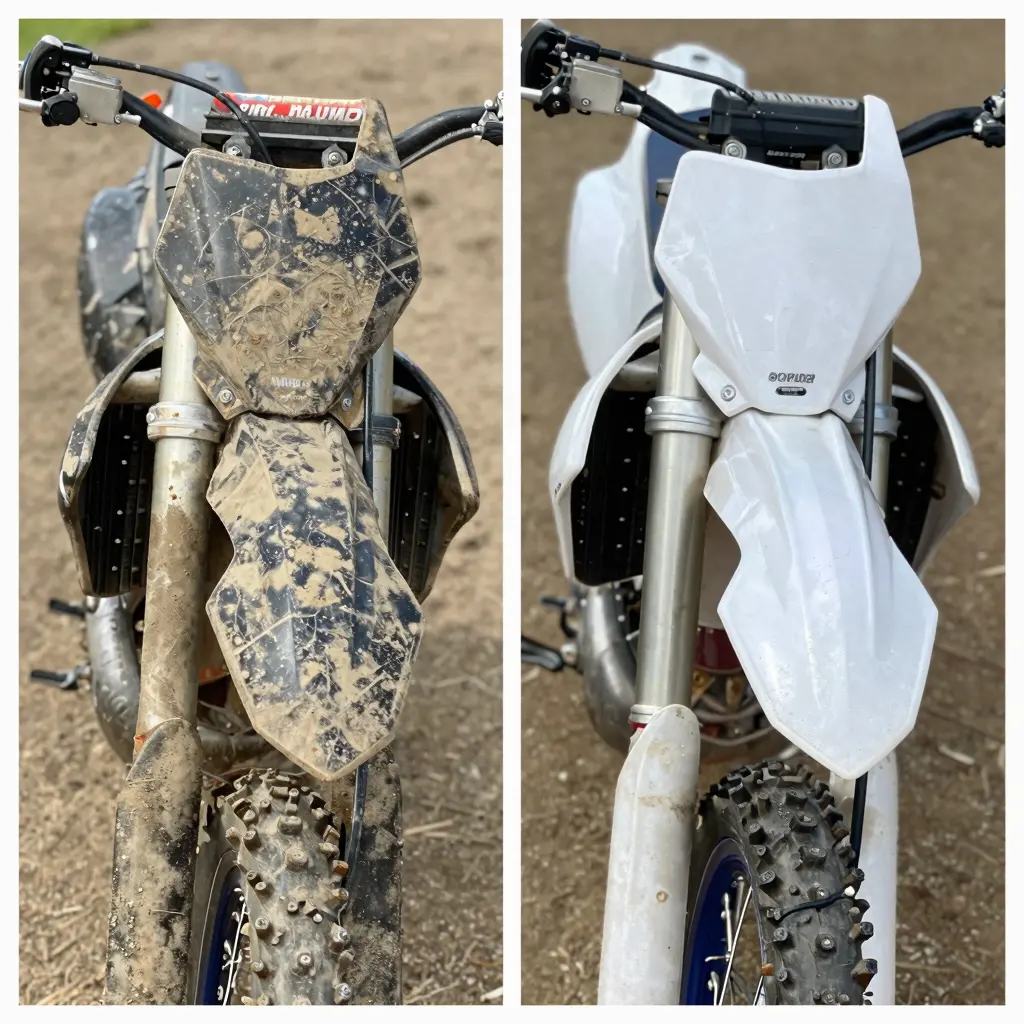
This side-by-side visual comparison illustrates the significant difference between dirty and clean dirt bike plastics. Ensuring that your plastics are clean is a crucial first step in preparing for graphics application, as the quality of adhesion and overall appearance of the graphics will heavily depend on the cleanliness of the surface. For more on dirt bike graphics, check out our collection here.
Cleaning Dirt Bike Plastics
Cleaning the plastics of your dirt bike is an essential step before applying new graphics. Not only does it enhance the appearance of your bike, but a clean surface also ensures that stickers adhere properly. Here’s a detailed guide on how to thoroughly clean dirt bike plastics, focusing on oil removal and dirt cleaning.
Step 1: Gather Your Supplies
Before you get started, make sure you have the following products:
- Mild Dish Soap: Look for a degreasing formula that is safe for plastics.
- Soft Bristle Brush: Ideal for scrubbing without causing scratches.
- Microfiber Cloths: For drying and polishing.
- Degreaser or Detail Spray: Specifically designed for motorcycle use.
- Water Source: A hose or bucket of water will work.
Step 2: Rinse the Plastics
Start by rinsing the plastics with water. This will help remove any loose dirt and debris. Use a hose or bucket to soak the entire surface evenly. Make sure to pay special attention to areas where dirt accumulates, like the rear fender and side panels.
Step 3: Apply Soap Solution
Mix a small amount of dish soap with warm water in a bucket. Dip your soft bristle brush into the solution and start scrubbing the plastics. Pay special attention to oil stains and dirt buildup. This step is crucial in removing greasy residues that may have accumulated from your rides.
Step 4: Use a Degreaser for Stubborn Oil
For tough oil spots, apply a dedicated motorcycle degreaser or detail spray directly onto the area. Allow the product to sit for a minute to penetrate the grease. Use the soft bristle brush to scrub the area again, ensuring that the degreaser works its magic. Rinse off with water.
Step 5: Rinse Again
After scrubbing, rinse the plastics thoroughly to ensure all soap and degreaser residues are washed away. Leftover soap can interfere with the adhesion of your new graphics, so this step is important.
Step 6: Dry the Plastics
Use a clean microfiber cloth to dry the plastics completely. Ensure there is no moisture left, particularly in crevices and corners. This will prevent any water spots and prepare the surface for the graphics application.
Step 7: Final Clean with Alcohol
As a final step, you can wipe down the plastics with isopropyl alcohol on a microfiber cloth. This will remove any remaining oils and provide a clean surface for your graphics to adhere.
Maintenance Tips
- Repeat this cleaning process regularly to maintain the condition of your plastics.
- Consider investing in high-quality graphics from MotoGraphics to enhance the look of your bike after a thorough cleaning.
By following these steps, your dirt bike plastics will be spotless and ready to showcase your new graphics for a fresh look. Happy riding!
Comparison Table of Plastic Cleaners for Dirt Bikes
| Product Name | Cost | Best Uses |
|---|---|---|
| Muc-Off Nano Tech Bike Cleaner | $29.99 (5L) | Biodegradable cleaner effective on all surfaces, ideal for dirt and grime cleaning. Buy here |
| S100 Total Cycle Cleaner | $16.99 (1L) | Heavy-duty cleaner designed for various dirt and mud conditions. Excellent for dirt bikes and general motorcycle cleaning. |
| Maxima 78920 SC1 High Gloss Coating | $12.99 (17.2 oz) | Protects and enhances the appearance of plastic surfaces while making cleanup easier. Available here |
| Muc-Off Dirt Bucket Kit | $45.99 | Comprehensive cleaning kit with tools and a dirt filter to maintain cleanliness during the washing process. Perfect for detailed bike cleaning. Check it out here |
This table provides a quick reference for selecting the right cleaner for preparing dirt bike plastics before applying graphics. Proper maintenance using suitable cleaning products can significantly affect how well the graphics adhere and how long they last.
For more information on graphics for various types of motorcycles, you can check out our selection.
If you’re looking for specific graphics related to electric bikes, learn more about E-ride graphics.
Feel free to ask any questions you might have regarding dirt bike maintenance or graphics application!
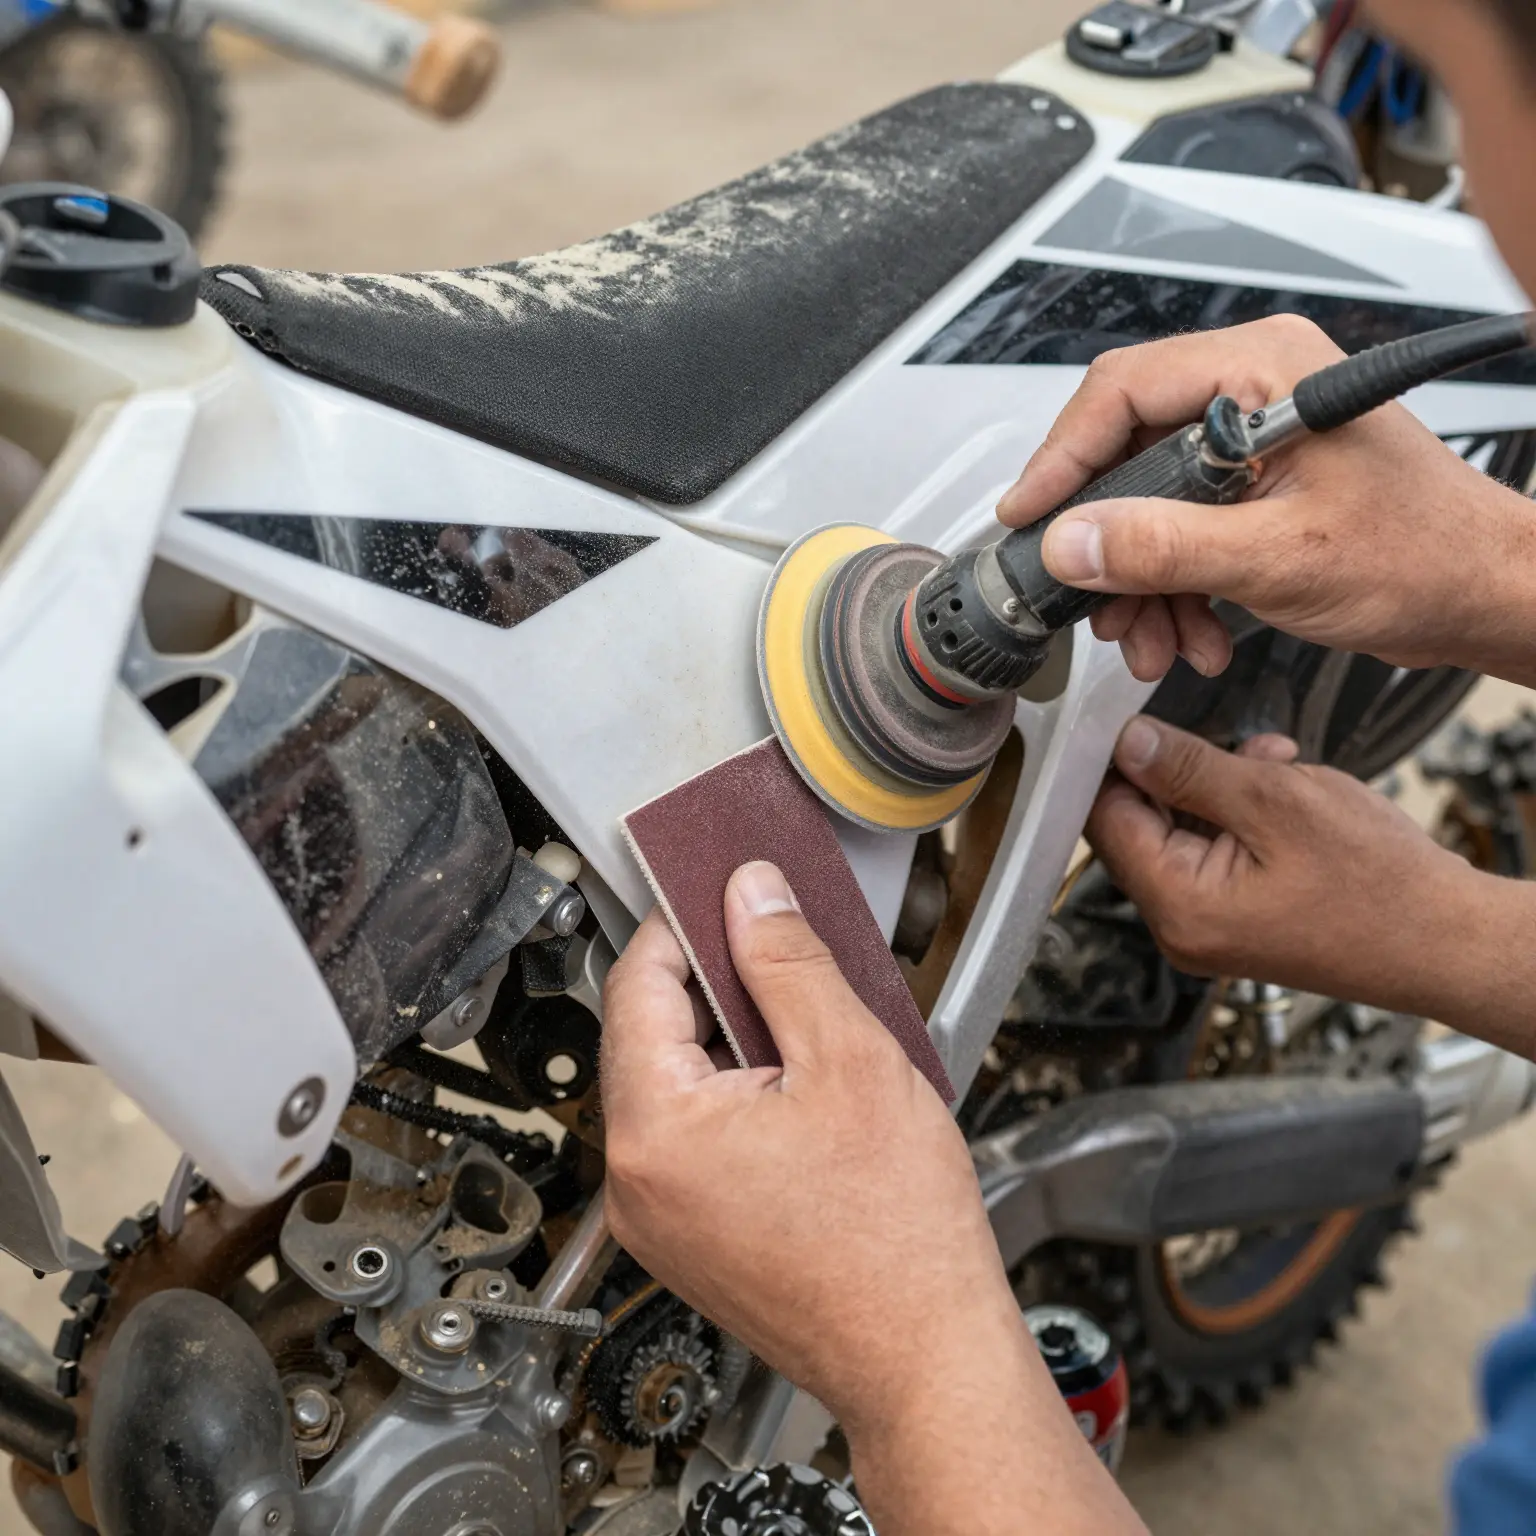
Sanding Techniques for Plastic Surfaces
Sanding plastic surfaces is a crucial step in preparing your dirt bike plastics for graphics. It ensures a smooth finish and optimal adhesion for the graphics, preventing peeling or chipping over time. This guide provides insights into why sanding is necessary, which grit sandpaper to use, and step-by-step instructions to effectively sand plastic surfaces.
Why Sanding is Necessary
Sanding serves multiple purposes when preparing plastic surfaces:
- Texture Creation: It creates a textured surface that allows adhesives and paints to adhere properly. According to Paint Loving, tiny scratches or grooves increase adhesion, leading to a better overall finish.
- Imperfection Removal: Sanding helps in removing imperfections on the surface, smoothing out any irregularities that can affect the appearance of your graphics. As mentioned in eQualle, this step is crucial for achieving professional results in graphics work.
Recommended Grit Sandpaper
Selecting the right grit sandpaper is essential to achieving the best results. Here’s a recommended approach:
- Initial Sanding: Start with medium-grit sandpaper (about 80-120 grit) to remove any existing gloss and create the necessary texture.
- Finishing Sanding: Follow up with finer grit sandpapers, like 220-320 grit, for a smooth finish. For detailed work, use ultra-fine sandpaper (600+ grit) to achieve an extremely smooth surface, especially before applying paint or graphics as suggested by House Practical.
Step-by-Step Instructions to Sand Plastic Effectively
- Gather Supplies: You will need the following tools and materials:
- Sandpaper of varying grits (80-400+)
- Sanding block or a palm sander (optional)
- Water spray bottle (for wet sanding)
- Clean cloth
-
Prepare the Surface: Ensure the plastic surface is clean and dry. Remove any dirt, grease, or old stickers using a mild detergent.
-
Initial Sanding:
- Start with 80-120 grit sandpaper.
- If using a sanding block, wrap the sandpaper around it for even pressure. Sand in linear or circular motions, applying gentle pressure.
- Focus on areas with scratches or imperfections.
- Switch to Finer Grit:
- Once the surface is roughened up, progress to 220-320 grit sandpaper.
- Again, use circular or linear motions, ensuring consistency.
- Wet Sanding (Optional):
- To reduce dust and achieve a smoother finish, consider wet sanding. Soak the sandpaper in water and sand the surface gently.
- This technique helps to minimize clogging of the sandpaper and keeps the surface cool.
- Final Finishing:
- For the ultimate smoothness, use a fine grit (600+).
- After sanding, clean the surface with a damp cloth to remove any dust or debris.
- Test for Smoothness: After sanding, feel the surface with your hand to confirm it’s smooth enough for graphics application. If necessary, repeat with finer sandpaper.
Conclusion
By following these sanding techniques, you can prepare your dirt bike plastics effectively for graphic applications. Not only does it enhance aesthetic appeal, but it also ensures that your graphics adhere properly, increasing the longevity of your dirt bike’s look. For more options, check out our selection of graphics at MotoGraphics!

Applying Primer to Dirt Bike Plastics
When prepping your dirt bike plastics for graphics, applying a suitable primer is crucial to ensure a durable and attractive finish. Here’s a comprehensive guide on the types of primers to use, the proper application methods, and tips for achieving strong adhesion.
Types of Primers Suitable for Plastics
- Flexible Plastic Primer: This is specifically designed for use on flexible surfaces, such as dirt bike plastics. It allows for the material’s natural movement without compromising the coating’s integrity.
- Etching Primer: This primer contains chemicals that create a textured surface for better adhesion. It’s especially useful if the plastic is glossy or smooth.
- Self-Etching Primer: This versatile product combines the qualities of regular and etching primers, making it ideal for various plastic types and ensuring good adhesion.
How to Apply Primer Correctly
To achieve the best results, follow these steps:
- Prepare the Surface:
- Cleaning: Thoroughly wash the plastics with soap and water to remove dirt and oils. Rinse and let them dry completely.
- Sanding: Lightly sand the surfaces using fine-grit sandpaper (around 180-grit). This step creates a better surface for the primer to adhere to.
- Apply the Primer:
- Spray Application: Hold the spray can about 8-12 inches from the surface. Apply 2-3 light coats, allowing 10 to 15 minutes of drying time between each layer. This helps to avoid drips and runs, ensuring a smooth finish.
- Brush or Roll: If using a brush or roller, ensure even coverage and avoid over-saturating the surface.
- Drying and Curing: Allow the primer to cure fully before applying the next coat or the final paint. Refer to the manufacturer’s instructions for specific drying times.
Tips for Ensuring Adhesion
- Surface Preparation: Never skip cleaning and sanding, as these are critical for ensuring the primer and paint adhere properly to the plastics.
- Temperature and Humidity: Apply the primer in a controlled environment (ideally between 65-75°F with low humidity) to allow for faster drying and optimal adhesion.
- Test a Small Area: If you’re unsure how your primer will adhere, test it on a small, inconspicuous area first.
By following these tips and steps, you can effectively prepare your dirt bike plastics for graphics, ensuring a quality appearance that lasts. For a full range of graphics suitable for your dirt bike, check out our selection here.
Here’s an instructional graphic outlining the primer application process for better clarity:
In conclusion, preparing your dirt bike plastics with the right primer not only enhances the aesthetic appeal but also contributes to the longevity of the graphics. Make sure to choose the appropriate primer and follow the application steps for the best results.
Importance of Prepping Dirt Bike Plastics for Graphics
Prepping the dirt bike plastics is a crucial step before application of new graphics. To quote a well-known expert in the field, “A clean preparation surface is essential for graphics to adhere properly and look their best. Without this step, even the most stunning graphics can fail to impress,” emphasizes the importance of thorough cleaning and preparation before graphics application.
This process involves:
- Removing old glue and residue.
- Thorough cleaning to prevent air bubbles and misalignment.
- Ensuring that the plastics are primed for optimal adhesion.
By following these steps, you will not only enhance the appearance but also improve the durability of the graphics applied to your dirt bike plastics.
For a detailed guide on selecting and applying graphics, you may learn more about our offerings or explore graphics for specific bike models.
Conclusion
Preparing your dirt bike plastics before applying graphics is not just a cosmetic issue; it’s a crucial step that ensures the longevity and durability of your bike’s aesthetics. Proper preparation can extend the life of graphics from 1 to 3 years, depending on the care taken during the pre-application process and the materials used.
The process of preparing plastics involves a series of steps that cannot be overlooked:
- Thorough Cleaning: Ensure that all old adhesive residues, dirt, and oils are scrubbed away. This helps create a smooth surface for the new graphics to adhere to effectively. Remember, new plastics may have waxy residues that also need to be cleaned off.
- Assess the Condition: If your plastics are scratched or faded, taking the time to restore their appearance will create a better canvas for your graphics, ultimately enhancing the overall look of your dirt bike. Detailed methods for restoration can be found in guides like How to Restore Dirt Bike Plastics and How To Make Your Dirt Bike Plastic Look New Again.
- Follow Proper Techniques: Utilizing tried and tested techniques ensures that your graphics not only look great upon application but also stand the test of time.
By adhering to these steps, you will not only improve the adhesion of your graphics but will also contribute to their longevity, ensuring that your bike maintains its sleek and appealing look for as long as possible. So, whether you’re going for a complete overhaul or just a minor touch-up, make sure to give proper prep the attention it deserves. Your bike will thank you for it!
For high-quality dirt bike graphics tailored to your bike’s aesthetic, check out our selections at MotoGraphics to elevate your ride’s appearance and performance.